
REVIEW · OAHU PHOTO SESSIONS
Oahu Island Photography Tour
Oahu looks different through a viewfinder. A full-day Oahu photo workshop from Waikiki hotel pickup turns scenery into real shooting skills. You get hands-on photo coaching for phones and cameras, plus a route that mixes beaches, rainforest, sacred sites, and winter surf. One thing to plan for, you’ll bring your own camera or smart phone, and lunch is on you.
This is a rare kind of day trip: it’s not just sightseeing with a few tips. A working photographer guide keeps you moving, helps you set the shot, and points out details most people miss. In past groups, guides like Jenny, Evan, Marie, Jason, and Pattie focused on both the technical side (settings, shutter speed, focal points) and the island side (place stories, geography, and wildlife like sea turtles and monk seals). The result is a calm, photo-friendly day that still feels like you’re actually exploring Oahu.
Key things that make this Oahu photo day work
- Small-group size that allows real feedback: capped at about 6 people, so you are not just watching from the curb
- Tripods included: you can practice steady shots without scrambling for gear
- Coaching for every level and every device: smartphone users get tips too, not an afterthought
- North Shore winter surf stops: big-wave season adds motion and drama to your photos
- Wildlife and sacred-site opportunities: you may spot sea turtles and monk seals, and you’ll visit heiaus and other culturally significant places
- Weather happens, and the day keeps going: it operates in all weather conditions, so dressing right matters
A full day of photo lessons, not just photo stops
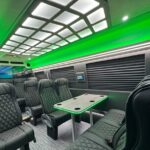
This tour is built like a moving workshop. You start in the morning with a pickup from your Waikiki hotel, then head out in a spacious, air-conditioned van. The core idea is simple: you learn what to look for and how to respond with your camera settings, so the island becomes easier to photograph as you go.
What I like most is the balance. You get technical instruction, but it never feels like a classroom. The guidance is tied directly to what’s in front of you: light changes, backgrounds get busier, and motion shows up at the North Shore during winter surf season. That’s when your new shutter speed and framing habits actually click.
Another smart piece is that the tour is for all skill levels. If you are brand new, you get practical help. If you already shoot in manual or semi-manual, you still get fresh angles and targeted adjustments. The guides in these tours have a clear pattern of helping people dial in settings for both landscapes and motion, and then giving suggestions for composition.
You can also read our reviews of more photography tours in Honolulu
Picking up in Waikiki, then escaping into real variety
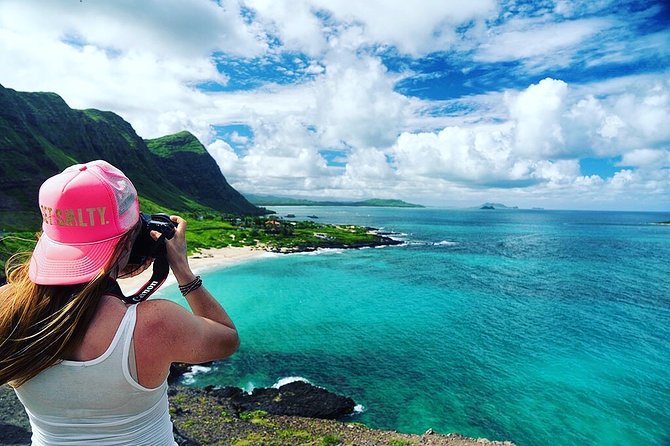
The day is long enough to matter, around 8 hours to 8.5 hours total. A big part of the value is that you are not spending your energy figuring out transit between scattered photo locations. The pickup and drop-off in Waikiki lets you focus on shooting and asking questions.
Once you’re on the road, the tour aims for variety. Destinations can shift based on the day and the season, but you should expect a mix like:
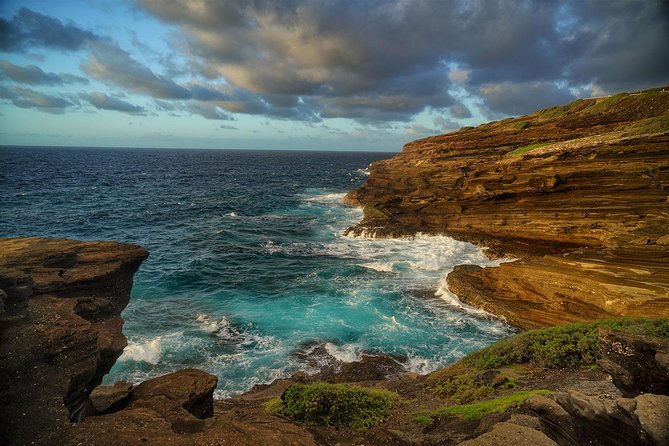
- sweeping coastal views
- lush rainforest scenes
- sacred heiaus
- waterfalls or valley viewpoints when timing allows
- mountain views and dramatic weather effects
- North Shore beaches known for winter surf activity
That variety matters because photography is about adapting. One location teaches different skills than the next. A bright beach teaches exposure and contrast. A shaded rainforest teaches light control and how to handle darker foregrounds. A surfing stop teaches motion, timing, and how to keep the subject sharp.
Stop-by-stop: how the route teaches your camera settings
Instead of a single theme, this tour builds skills through different types of scenery and lighting. Your guide keeps the day structured around teachable moments, so you get multiple chances to practice.
The morning drive and your first “look differently” lesson
Right away, the guide starts pointing out the small stuff. You learn how light behaves in Hawaii, then how to turn that into a photo. Expect guidance around:
- framing and focal points
- shutter speed choices
- how composition changes as you move your position
- practical ways to anticipate what the camera will do before you press the button
In groups led by photographers like Jenny and Evan, the teaching style was hands-on. They worked with what people had, from DSLRs to point-and-shoot to phones, and they helped people choose the right technique for the moment instead of giving generic advice.
Sacred heiaus and historical place meaning
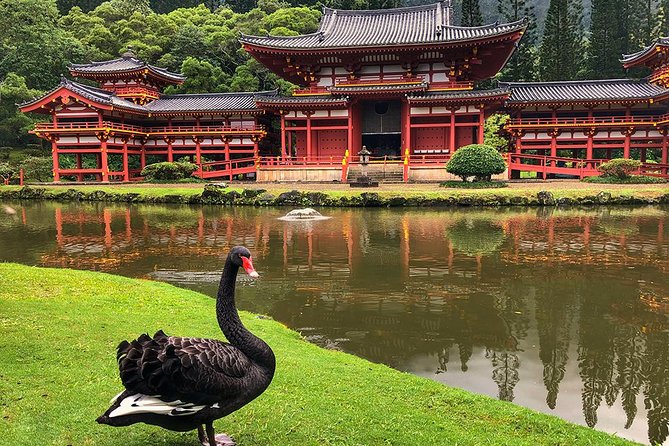
The tour includes sacred Hawaiian sites such as heiaus, plus stories about Oahu’s history and geography. This is not just trivia. When you understand what a place represents, it changes how you frame it. You are more likely to shoot the full context, not only the obvious view.
This is one reason the day feels meaningful without turning into a history lecture. Guides like Marie and Jason have been praised for weaving in place context while still keeping the photography focus tight. You might find yourself photographing a site differently once you know what you are seeing.



Rainforest and waterfall potential for texture and mood
Rainforest scenes and waterfalls (when the day allows) are where you practice patience. Your guide can help you tackle:
- softer light under tree cover
- reflections and layered depth
- slow-water and silky-water effects if conditions allow
- how to keep the main subject clear in busy backgrounds
Even if the weather is cloudy for part of the day, the guides have shown they can steer you toward spots where the conditions actually help. Cloud cover can reduce harsh shadows, and it often makes rainforest textures and waterfall mist look better, not worse.
The North Shore winter surf segment: where motion becomes your assignment
The North Shore is the big photography payoff. Winter surf brings motion, drama, and higher contrast between the ocean and the sky. That’s perfect for learning shutter speed and timing.
This is also where you may see wildlife like sea turtles and, at times, Hawaiian monk seals (the tour includes the possibility of both). The key is that your guide helps you slow down long enough to shoot correctly, then move on so you still cover a lot of ground.
One practical bonus: at surf stops, you learn that composition is not only about where the subject sits in the frame. It’s also about your angle to control distractions in the background. You get guidance on where to stand and when to adjust settings as conditions change.
Lunch on the North Shore, with local food as part of the day
Lunch is a break and it’s your own expense. The stop is designed to give you energy while you’re in the middle of the North Shore stretch. In past experiences, groups appreciated good food around the North Shore and even a few extra local stops for snacks.
Because lunch isn’t included, I treat this as a planning point. If you have dietary needs, it helps to decide what kind of place you want before you reach the area. Bring water if you tend to get thirsty quickly, and keep your shooting gear handy since the best moments often happen between breaks.
Gear and shooting tips for phones and high-end cameras
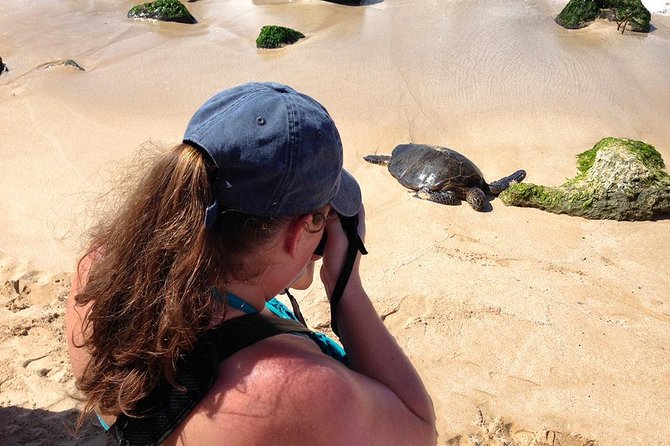
You do not need to own a fancy camera to benefit. The tour is explicitly built for smartphones through high-end DSLR cameras. Tripods are included, which is huge for two reasons:
1) you can practice sharpness and slower shutter speeds
2) you can experiment with composition without holding everything in shaky hands
What you’ll work on during the day is the stuff that usually takes months to figure out on your own:
- Using light as your main subject tool, not just a background
- Framing choices: where the eye lands and what you remove from the shot
- Shutter speed decisions for motion versus still scenes
- Focal point and focus strategy, especially when subjects are moving
- How to adapt camera settings as the day goes from bright sun to shade
If you’re using a phone, the guide can still help. In one group, the instruction covered phone settings people did not know existed, and that kind of payoff is real. Phones often hide tools inside menus, and a good instructor shows you exactly where they are and when to use them.
The small-group vibe: why it feels calmer and more personal
The group cap is small, up to 6 travelers in practice (with a booking limit that can run slightly higher). That small size is not just a comfort perk. It changes how you learn.
Instead of watching others set up, you get time to adjust your shot and get feedback. The guides repeatedly focus on individualized tips for different camera modes and different skill levels. If you want quick answers while you’re still at the location, this tour format supports that.
It also helps with pacing. The tour moves through Oahu efficiently, but the guide can still stop you, reposition you, and help you get a better frame without the pressure of a huge crowd behind you.
What to bring and how to dress so you can actually shoot
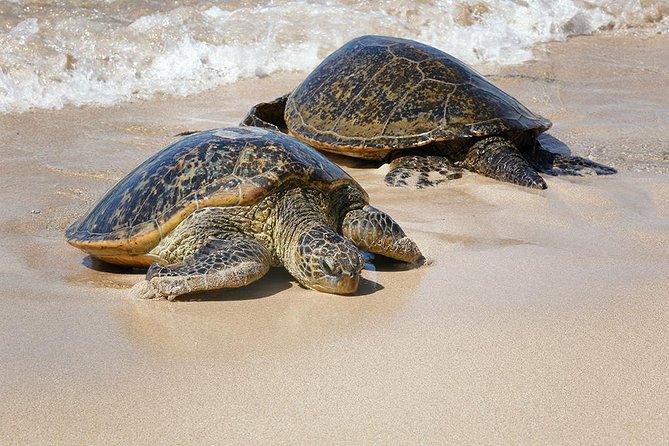
This tour operates in all weather conditions. That means you will go out even if clouds roll in or the wind picks up. Dress for that.
Bring:
- a camera or smart phone (required)
- comfortable, closed-toed walking shoes
- a hat and sunscreen
- anything you need to stay comfortable in sun and light rain
Also, since tripods are included, you don’t need to bring one. But you do need to feel comfortable using it. If you are new, take the first opportunity to set it up early, so you are not learning the basics while you are standing at a surf stop.
Value check: is $150 worth it?
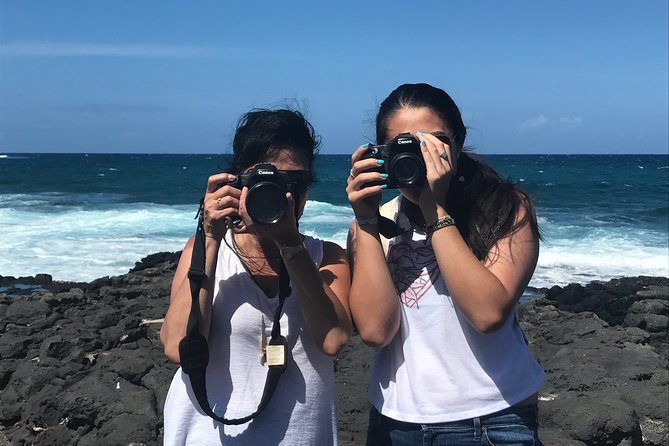
At $150 per person, the best way to judge value is not the raw price. It’s what you get that you usually pay for separately: a full-day, guided, photo-focused lesson plus pickup, tripods, and real location time.
Here’s what you are really buying:
- Pro instruction that applies immediately to the next stop
- tripods included, which saves you from renting or buying
- transportation out of Waikiki during a full day
- the chance to see North Shore surf locations and other Oahu spots you might not plan efficiently on your own
The price also makes sense because this is a small-group workshop. You are not paying for a big bus and general commentary. You are paying for a coach who can help multiple people set up and shoot correctly, including smartphone photographers.
If your goal is simply to take a few vacation pictures with no effort, you may decide this is more instruction than you need. If you want better photos and you enjoy learning, it’s a solid value.
Who should book this Oahu photography tour
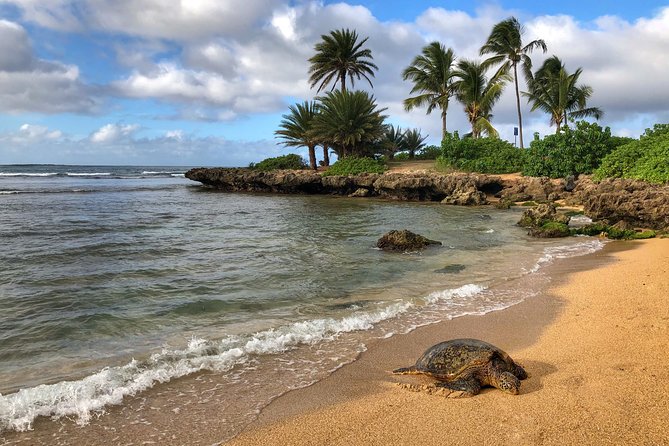
This tour fits best if you fall into one of these groups:
- You want better photos quickly, not a vague “take pictures here” day
- You’re new to photography and want a clear path from settings and framing to results
- You already shoot and you want a guide to find strong angles and help you refine motion and light
- You are traveling with friends or family who appreciate scenic stops but also want real direction for photos
- You want Oahu variety in one day, from beaches to rainforest to sacred sites
If you only care about lounging on beaches and do not want to think about shutter speed or framing, you might feel the day is too structured. But for most people who bring curiosity, it’s a great match.
Should you book Oahu Island Photography Tour?
I’d book it if your vacation photos are important to you and you want to level up without trial and error. The top reason is the mix of technical coaching and real Oahu locations in a small group, plus the fact that smartphone photographers are treated as full participants.
I would hesitate only if you strongly dislike walking, setting up tripods, or spending part of a day focused on learning rather than pure relaxation. Also remember lunch is not included, so budget a bit for food on the North Shore.
If you can handle that, this is one of the better ways to see Oahu while also coming home with images you actually earned.
FAQ
How long is the Oahu Island Photography Tour?
The tour runs about 8 hours, with the experience described as full-day and around 8.5 hours.
Where does the tour start and end?
It starts with hotel pickup in Waikiki and ends with hotel drop-off back in Waikiki.
Is pickup included?
Yes, hotel pickup and drop-off are included.
Are tripods provided?
Yes, tripods are included.
Do I need my own camera or phone?
Yes, participants are required to bring their own camera or smart phone.
Is lunch included?
No, lunch is not included. There is a break for lunch on the North Shore with lunch as your own expense.
How many people are in the group?
The experience has a small group size, with a maximum of 6 travelers noted, and a maximum of 7 per booking.
What happens if weather is poor?
The tour operates in all weather conditions. If it is canceled due to poor weather, you’ll be offered a different date or a full refund.
More Photography Tours in Honolulu
More Tours in Honolulu
More Tour Reviews in Honolulu
Not for you? Here's more nearby things to do in Honolulu we have reviewed







Oahu Photo Sessions, compared.
 ★ 4.9From Waikiki: Best of Oahu Photo Tour with PickupFrom $99274 reviews
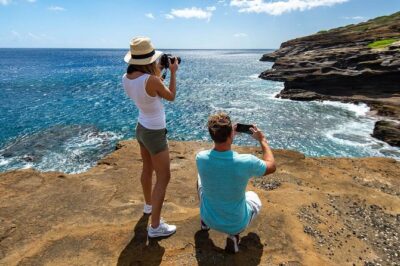 ★ 5.0Beautiful Colors of Hawaii Photo TourFrom $99165 reviews
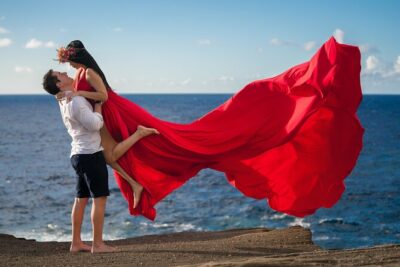 ★ 5.0Flying Dress Photoshoot on Oahu92 reviews
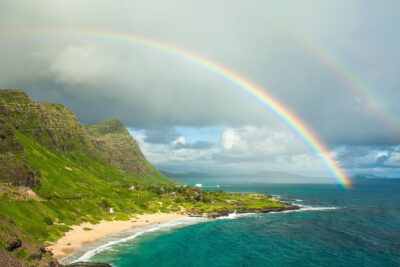 ★ 5.03 Hour Sunrise Photo Tour with MalasadaFrom $7081 reviews
 ★ 4.5Professional Photo Shoot: Hire a Photographer in HonoluluFrom $19028 reviews
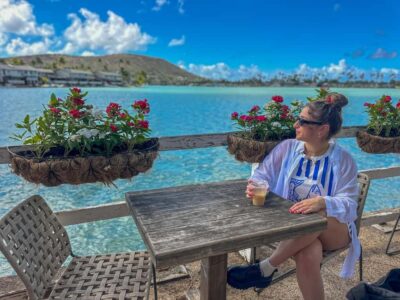 ★ 4.9Full-Day Guided Hawaiian Food and Photo TourFrom $16017 reviews
 ★ 5.0Hawaii Adventure PhotographyFrom $35013 reviews
 ★ 5.0Hawaii Wedding – Aloha Beach Wedding and Photo SessionFrom $75012 reviews
Browse the lists this tour appears in