
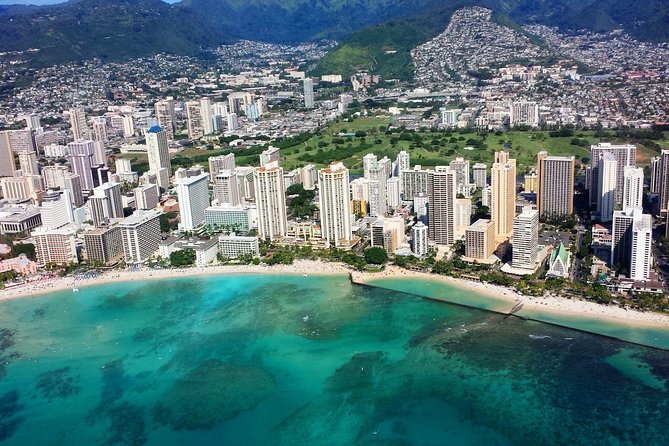
Oahu, coast by coast.
Waikiki mornings, Pearl Harbor reservations, North Shore roads and trade-wind water days — what each is really like, what it costs, and where to book.
The bookings that carry an island trip.
Start with the experiences that shape the day: a memorial morning, a reef boat, a full island loop or a sunset that begins after the beach crowds thin.
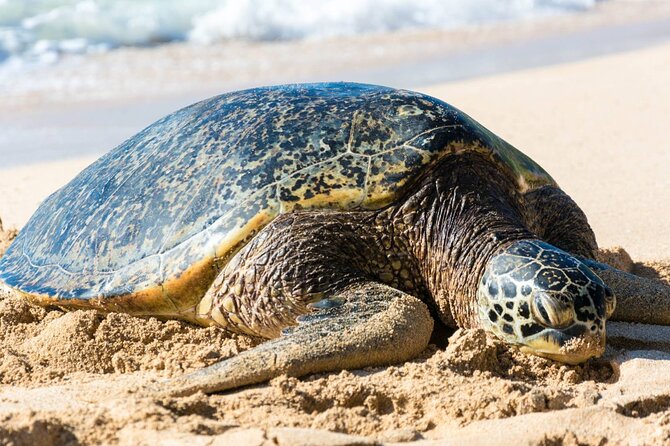
Grand Tour Around Island 16 Locations plus Snorkeling
Oahu in one day: 16 top sights plus North Shore snorkeling, with hotel pickup, snacks, and strong guide narration for $109.
From $109 per person
Read the review →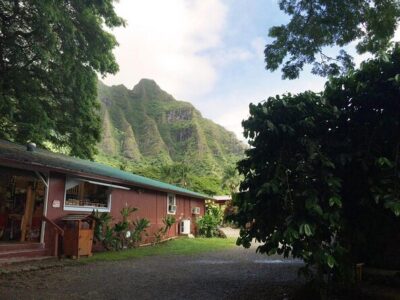 ★ 5.0Safe betMajestic Circle Island Tour with LunchFrom $1817,014 reviews
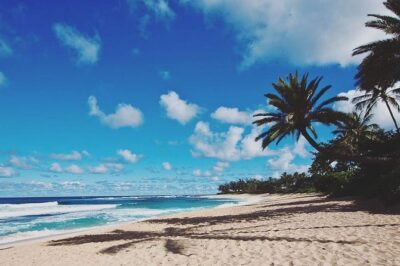 ★ 5.0Books out fastOahu Circle Island Tour with Turtle Snorkeling— Small-GroupsFrom $1495,214 reviews
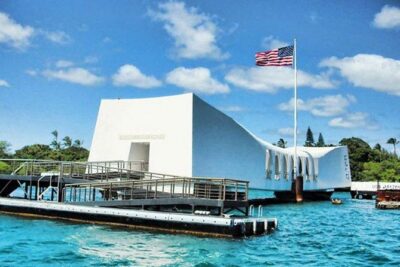 ★ 4.5Guest favouritePearl Harbor USS Arizona MemorialFrom $555,209 reviews
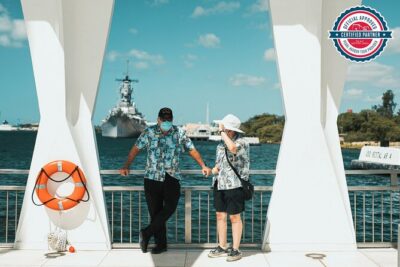 ★ 5.0Worth the early startPearl Harbor Remembered TourFrom $1435,143 reviews
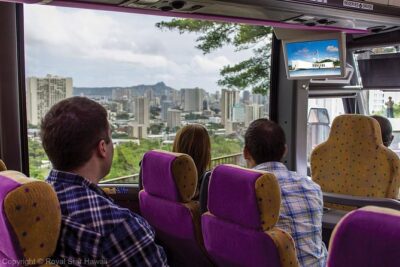 ★ 5.0Easy first pickPearl Harbor, USS Arizona Memorial & Honolulu City TourFrom $944,866 reviews
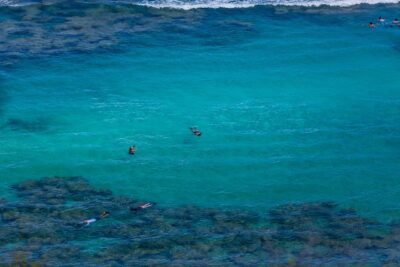 ★ 4.5Island standoutWaikiki Trolley Hop-On Hop-Off Tour of HonoluluFrom $224,783 reviews
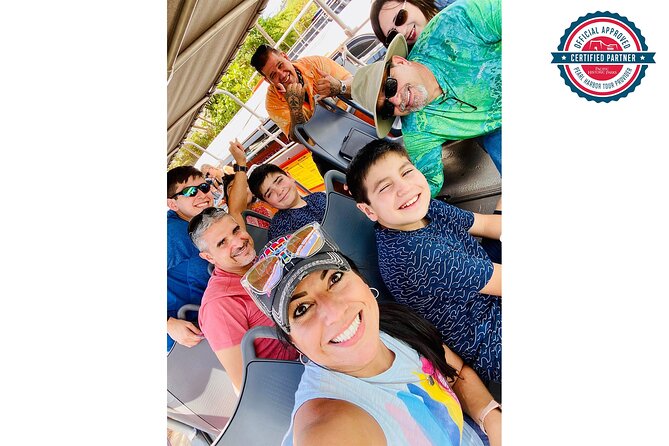
Build the day around the reservation.
Arizona Memorial access, battleship decks and hotel pickup do not always sit inside the same ticket. Compare the route first, then decide how much Honolulu belongs around it.
Which water day is yours?
Reef, sail or paddle: the right choice depends on the coast, the departure time and how active you want the day to feel. Every option behind these routes is reviewed and priced.
 Reef and wildlife
The turtle snorkel
10 to 12 hours (approx.) · from $108 · 5,461 reviews
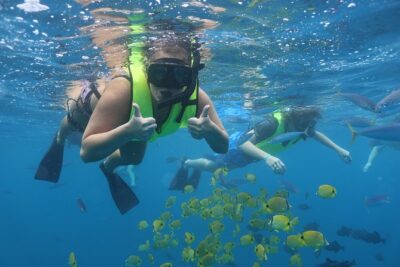
Choose this for a straightforward half-day on the water: boat time, snorkel support and a real chance to see Hawaiian green sea turtles without giving away the whole day.
Compare turtle snorkel trips →
Reef and wildlife
The turtle snorkel
10 to 12 hours (approx.) · from $108 · 5,461 reviews
Choose this for a straightforward half-day on the water: boat time, snorkel support and a real chance to see Hawaiian green sea turtles without giving away the whole day.
Compare turtle snorkel trips →
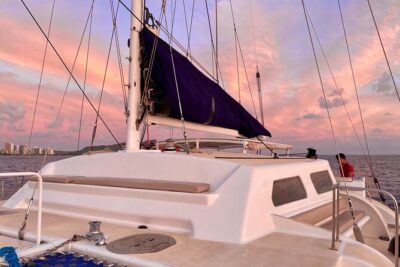 Easy evening
The sunset sail
2 hours (approx.) · from $89 · 2,205 reviews
Leave Waikiki as the light softens, watch Diamond Head recede and return after the city starts to glow. Check the boat style and what the ticket includes before choosing.
See the sunset sails →
Easy evening
The sunset sail
2 hours (approx.) · from $89 · 2,205 reviews
Leave Waikiki as the light softens, watch Diamond Head recede and return after the city starts to glow. Check the boat style and what the ticket includes before choosing.
See the sunset sails →
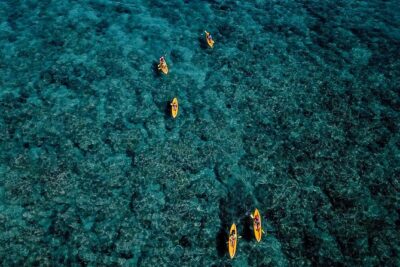 Move under your own power
The paddle day
5 hours 30 minutes (approx.) · from $114 · 1,311 reviews
Kayaks, paddleboards and sandbar routes trade a bigger boat for more time close to the water. Pick by launch coast, instruction and the amount of paddling you actually want.
See kayak and paddle tours →
Move under your own power
The paddle day
5 hours 30 minutes (approx.) · from $114 · 1,311 reviews
Kayaks, paddleboards and sandbar routes trade a bigger boat for more time close to the water. Pick by launch coast, instruction and the amount of paddling you actually want.
See kayak and paddle tours →
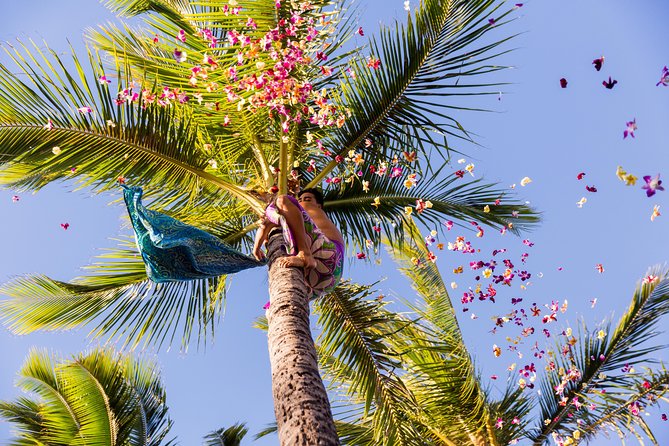
Save the firelight for evening.
A luau is part meal, part performance and part logistics. Compare the setting, transport and show format before giving it one of your island nights.
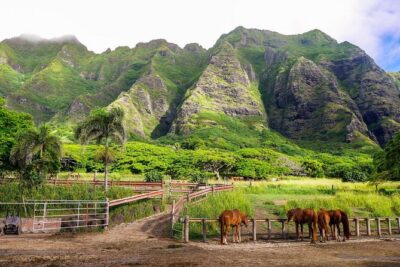
Green valleys and calmer bays.
Kailua, Kaneohe and Kualoa sit on the same side of the island but make different days. Pair them only when the transfer time stays sensible.

Let the water set the pace.
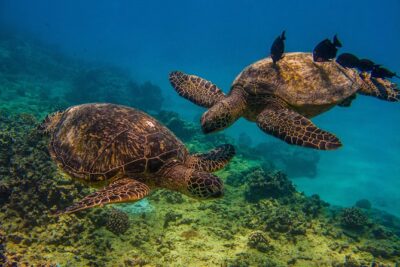
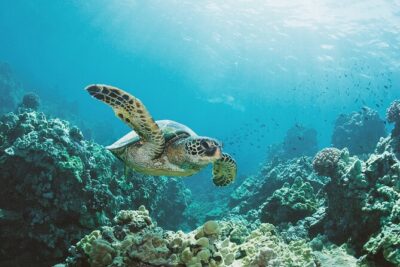
A morning snorkel leaves room for lunch; a sunset sail keeps the day open. Check the departure coast before choosing the prettiest boat.
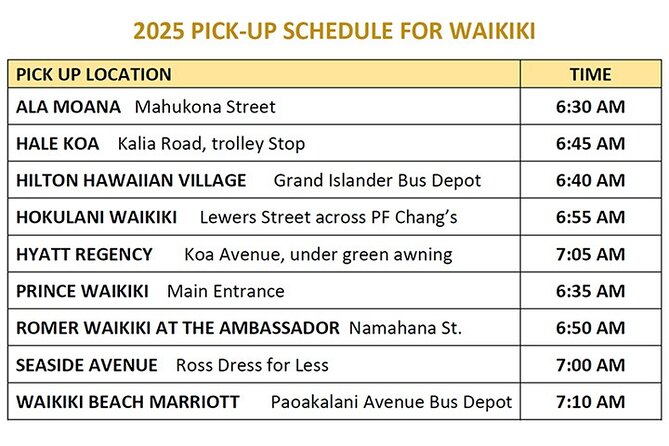
Leave enough room for Haleiwa.
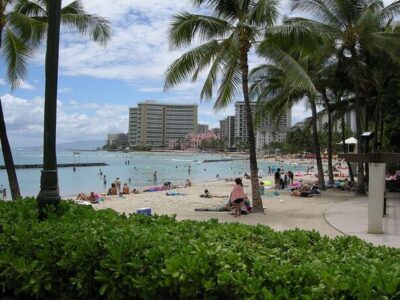
Surf breaks, food trucks, Waimea and plantation stops work better when the itinerary is not racing the entire island. The northern coast rewards a route with breathing room.
Pick your Oahu, coast by coast.
The island is compact, but traffic and coastlines shape the day. Choose the place first, then decide how much you want to fit around it.
Know what you’re after?
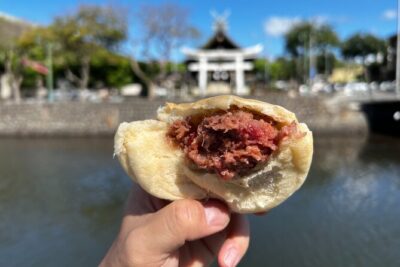
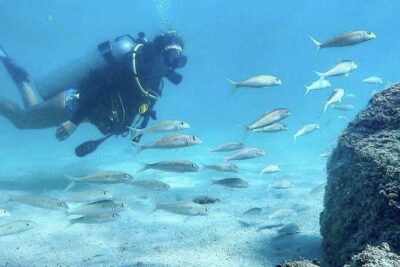
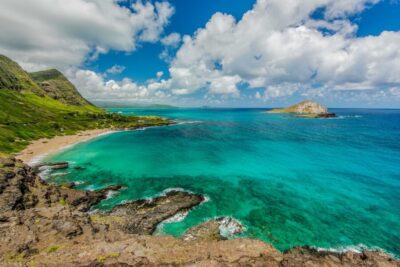
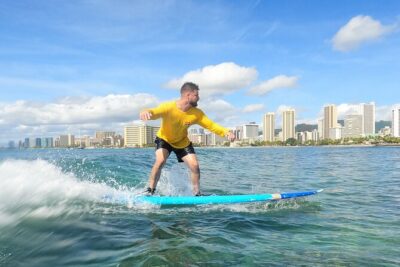
Pick the activity that sounds like your kind of day and every option behind it is already reviewed and priced.


Match the coast to the day.
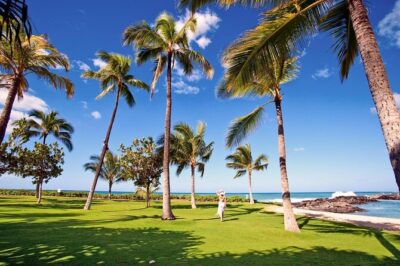
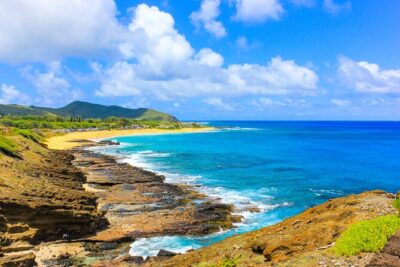
Hanauma Bay rewards advance planning. Ko Olina and the leeward coast reward an early start and fewer crossings through Honolulu.
Three days, done right.
You cannot see every coast at once, but you can give each day a different horizon. This is the sequence we would hand a friend landing in Honolulu tomorrow.
 Day 1
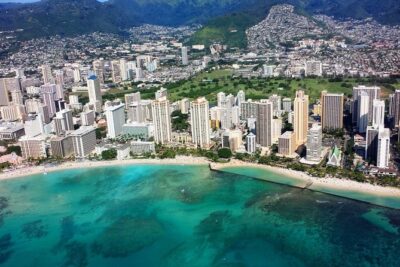
Waikiki to Diamond Head
Start before the heat, return for the beach and leave the water open for sunset.
Plan the Waikiki day →
Day 1
Waikiki to Diamond Head
Start before the heat, return for the beach and leave the water open for sunset.
Plan the Waikiki day →
 Day 2
Pearl Harbor to Honolulu
Anchor the morning around memorial access, then continue into the city without forcing another coast into the plan.
Plan the history day →
Day 2
Pearl Harbor to Honolulu
Anchor the morning around memorial access, then continue into the city without forcing another coast into the plan.
Plan the history day →
 Day 3
North Shore or Windward
Choose one coast and give its road, valleys and smaller stops enough time to matter.
Plan the coast day →
Day 3
North Shore or Windward
Choose one coast and give its road, valleys and smaller stops enough time to matter.
Plan the coast day →
The newest reviews.
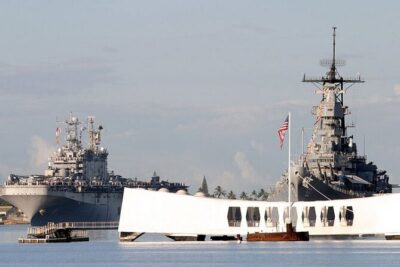 ★ 4.0Pearl Harbor and Honolulu City Tour from Ko OlinaFrom $793 reviews
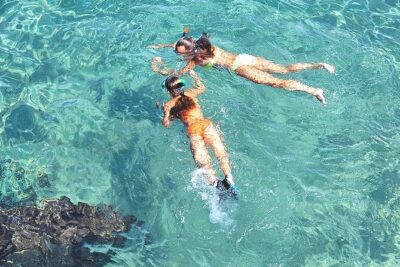 ★ 3.0Hanauma Bay Experience with Admission Ticket and EquipmentFrom $853 reviews
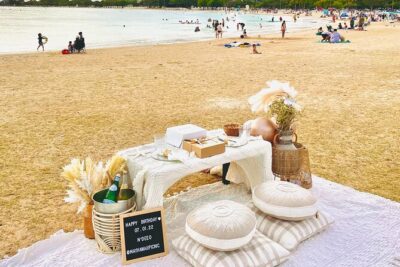 ★ 4.0Hawaii Beach Picnic Date3 reviews
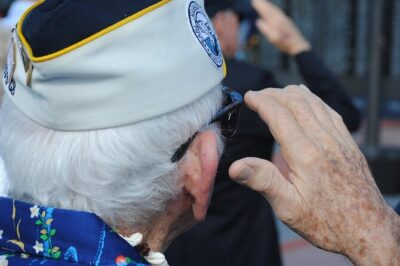 ★ 5.0#1 VIP Limousine Guided “USS Arizona Memorial” Reverence Tour!From $7993 reviews
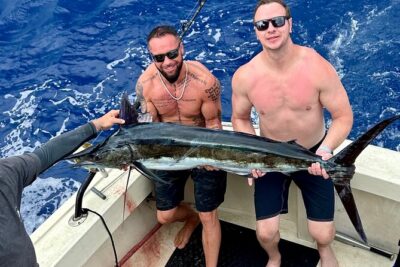 ★ 5.0Full Day Sport Fishing Charter HonoluluFrom $1,6993 reviews
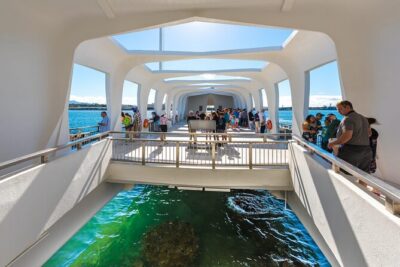 ★ 4.5Pearl Harbor USS Arizona & Bowfin SubmarineFrom $593 reviews
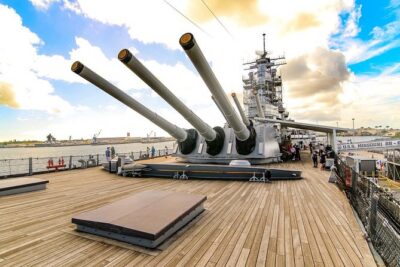 ★ 4.0Pearl Harbor: Arizona & Missouri Battleship Tour From Maui, Big Island & KauaiFrom $5993 reviews
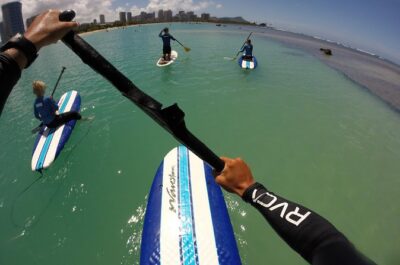 ★ 5.0Surf Honolulu: Ala Moana Stand-up Paddleboard LessonFrom $1393 reviews